A small collection: 2015 and beyond

This is a place for members to post on-going topics about their plants and experiences.
User avatar
Steve Johnson
Posts: 4526
Joined: Thu Nov 03, 2011 4:44 am
Location: Los Angeles, CA (Zone 10b)

Testing your water with a pH meter

Post by Steve Johnson »

To honor zagoric's request, this presentation concentrates on the "how-to" of using a pH meter. Before we begin, I'll briefly mention that among the acids we can get, 5% white vinegar is the best acidifier because it's safe for home use. Large-scale collections and nurseries use stronger, more concentrated acids due to the large volumes of water required. These acids need very careful handling, so I'll leave that up to the people who know what they're doing. For the rest of us, vinegar is totally fine.

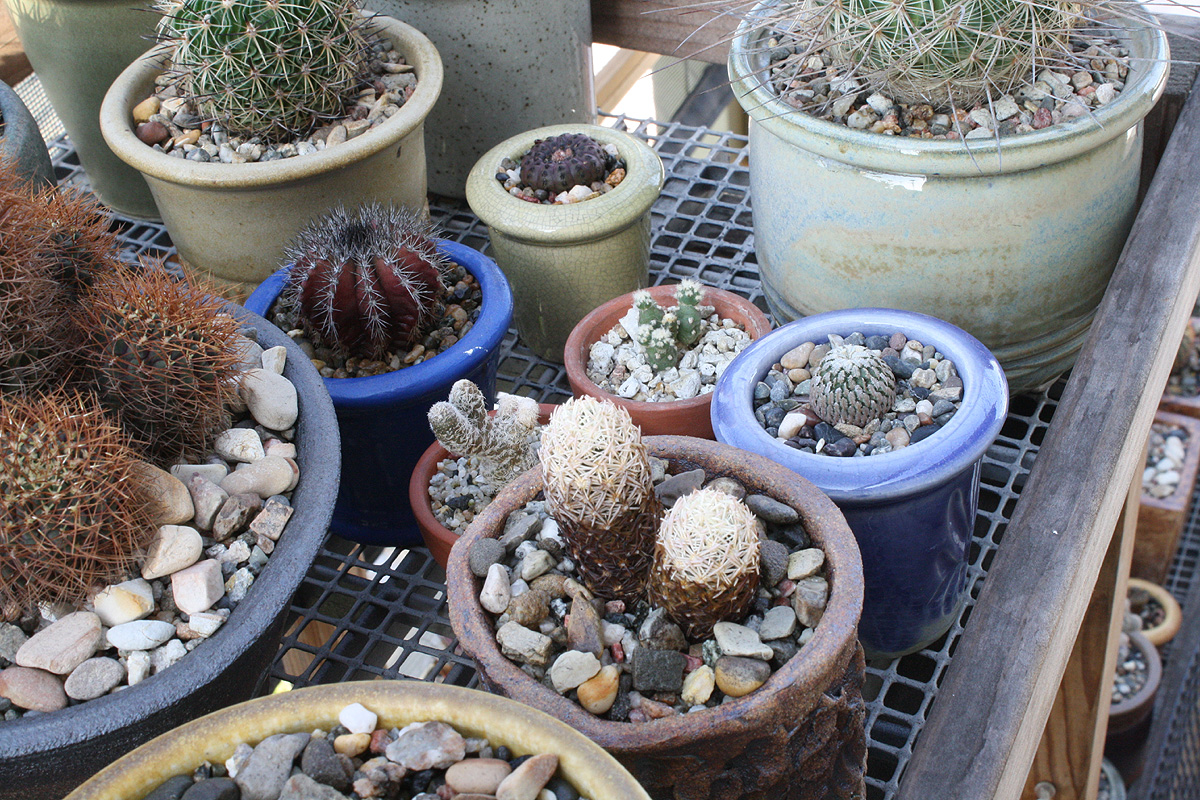
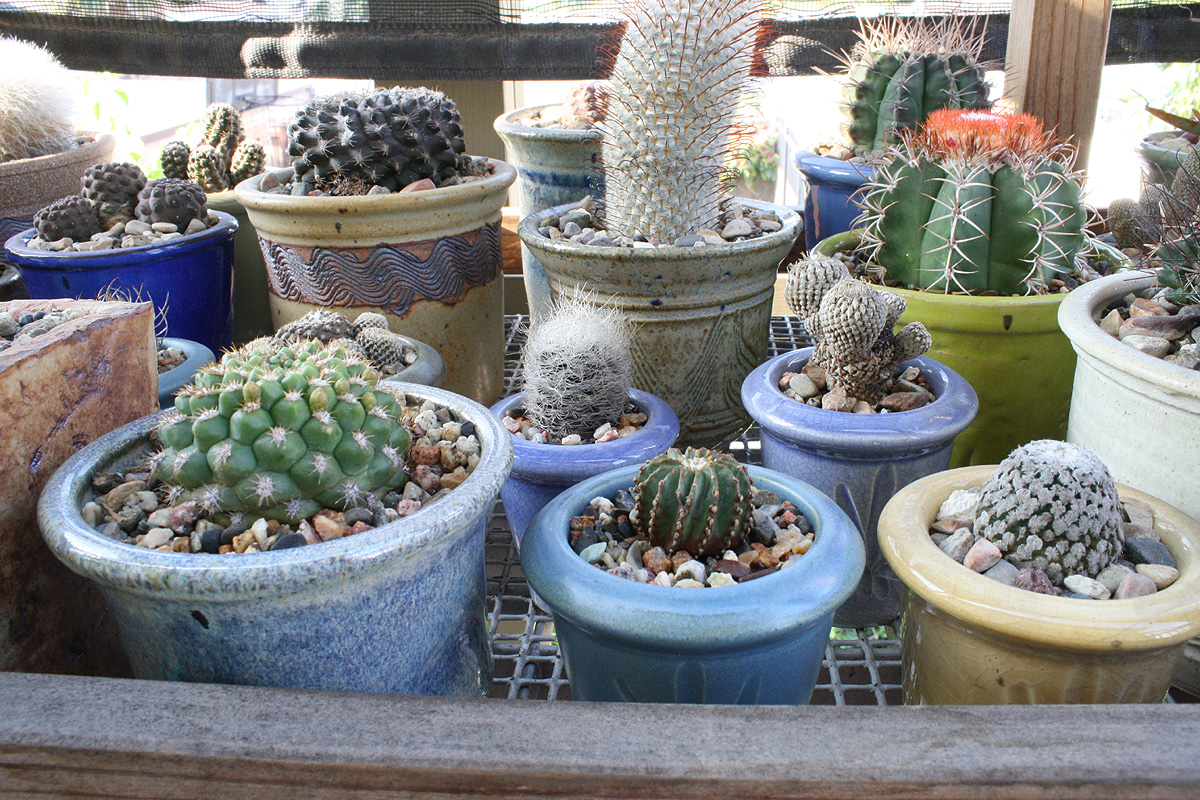
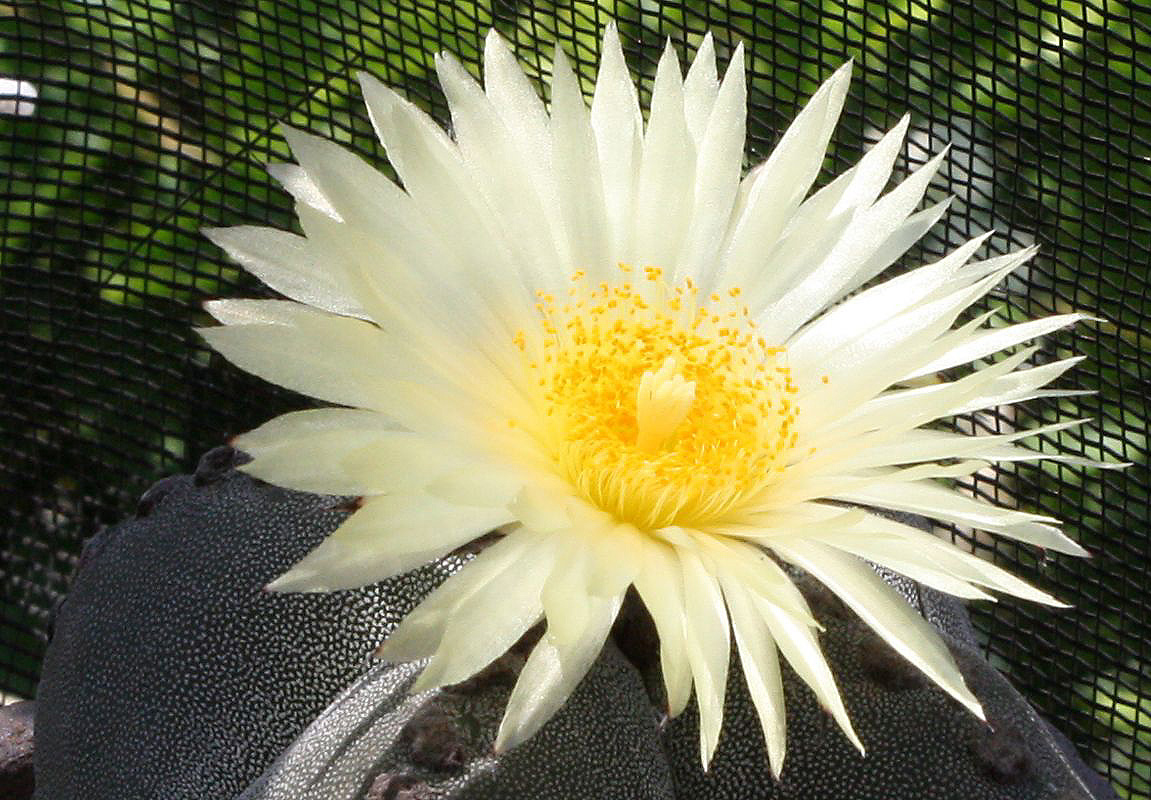
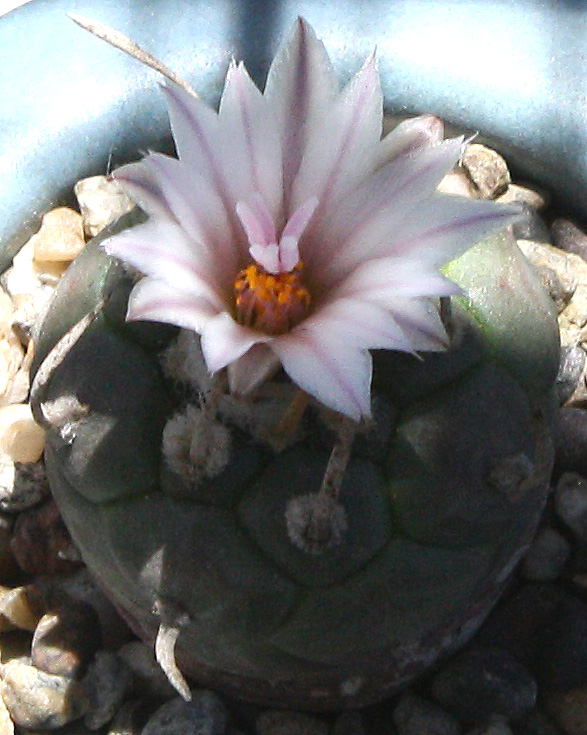
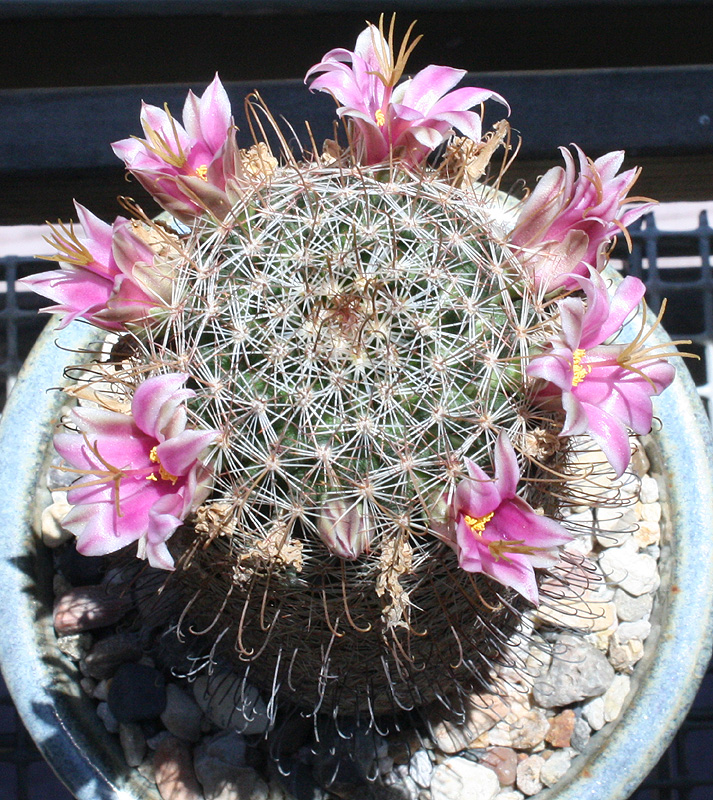
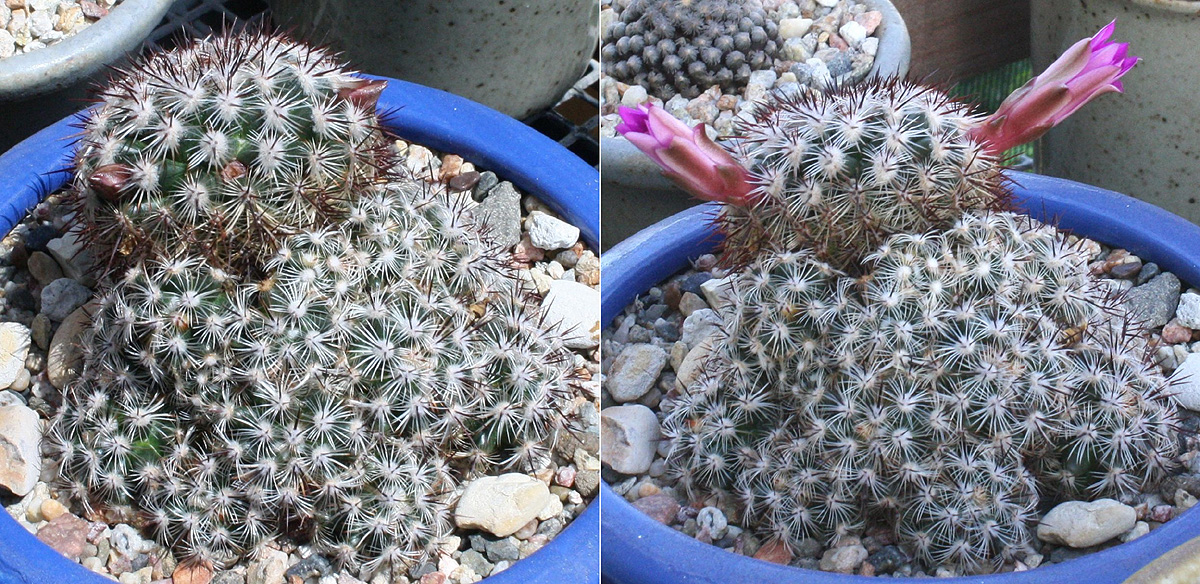
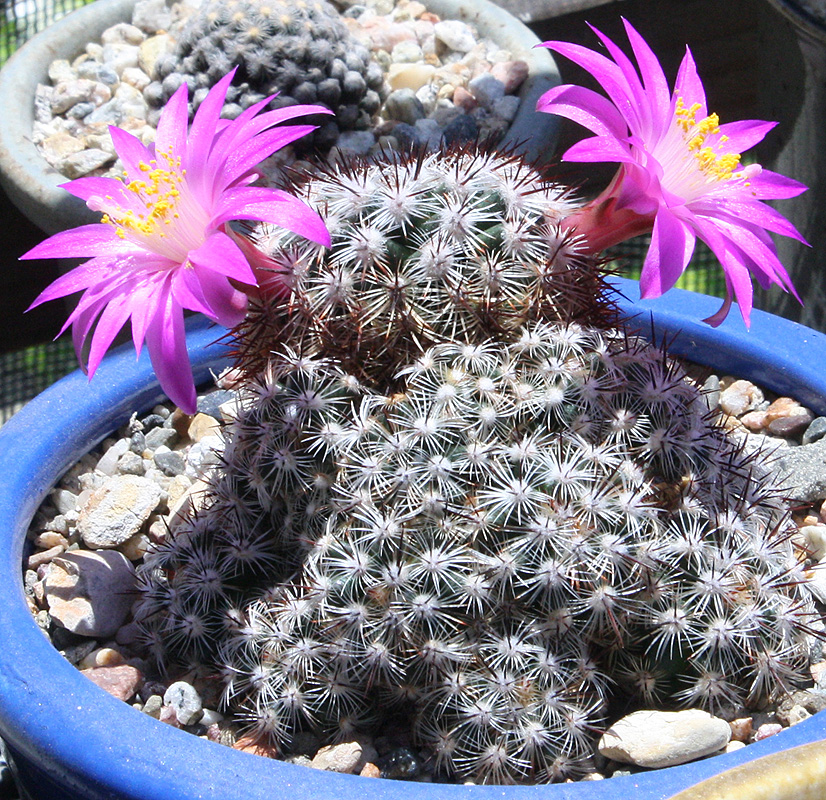
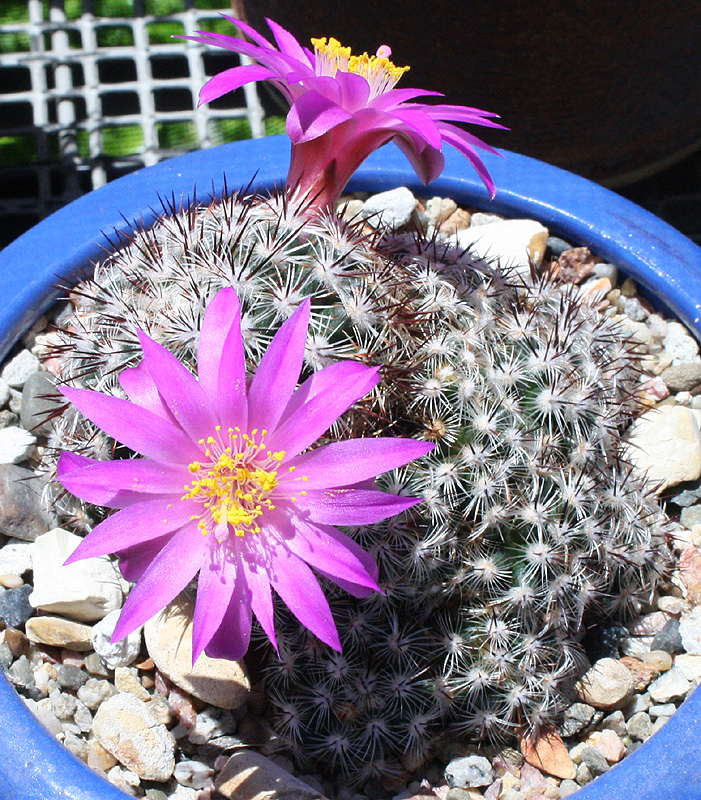
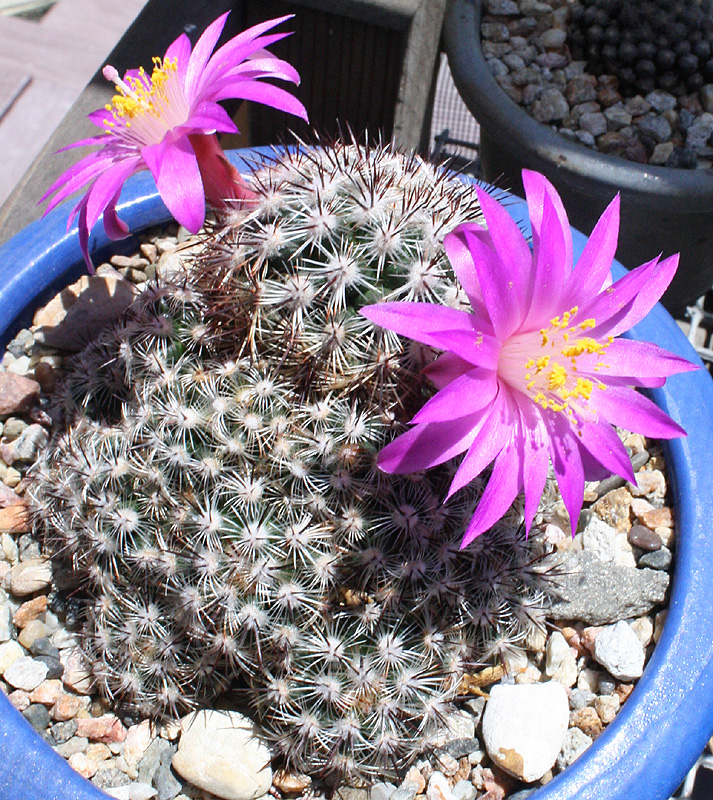
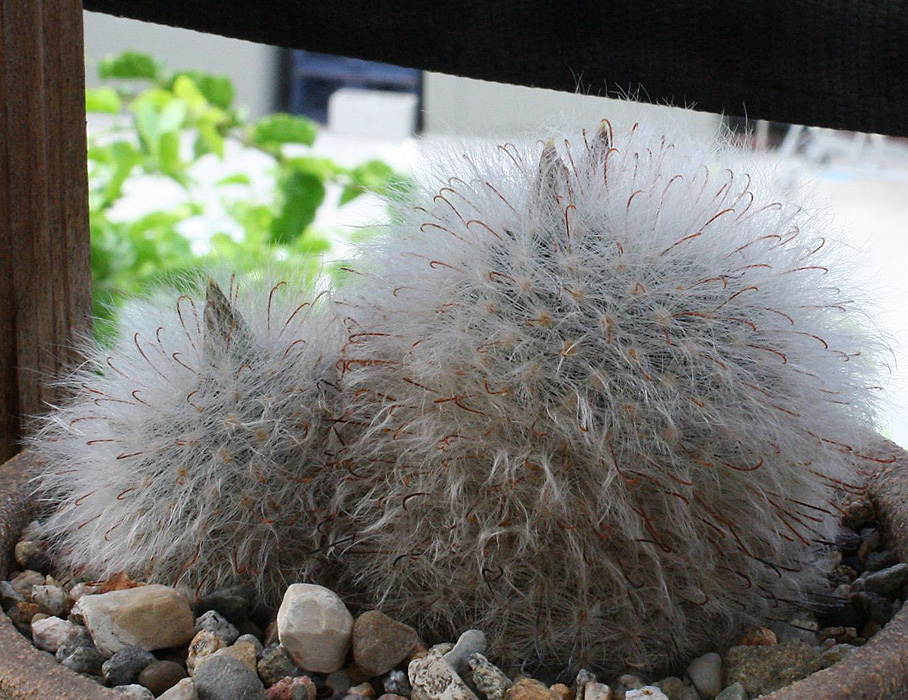
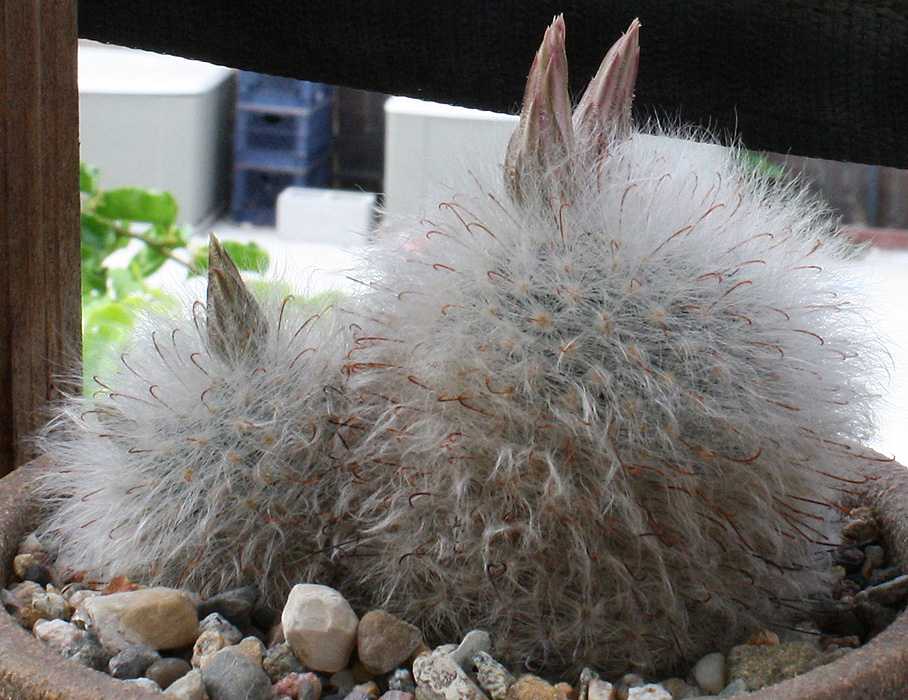
Hard tap water is a fact of life for many -- if it's left untreated, bicarbonates (primarily Calcium bicarbonate) build up in the pot, slowly robbing our plants of the ability to take up sufficient water and nutrients through the roots. But if you water your plants with acidified water, they'll thank you for it many times over. To get the full benefits of acidification, some way of testing the pH will be important. Without that crucial bit 'o info, you won't know if your acidification is just right, too much, or not enough. The first method is easiest, using colorimetric indicator dyes you can buy at any hydroponic store. Unfortunately it's also inaccurate, and by quite a bit. The other -- and much better -- method is a pH meter.

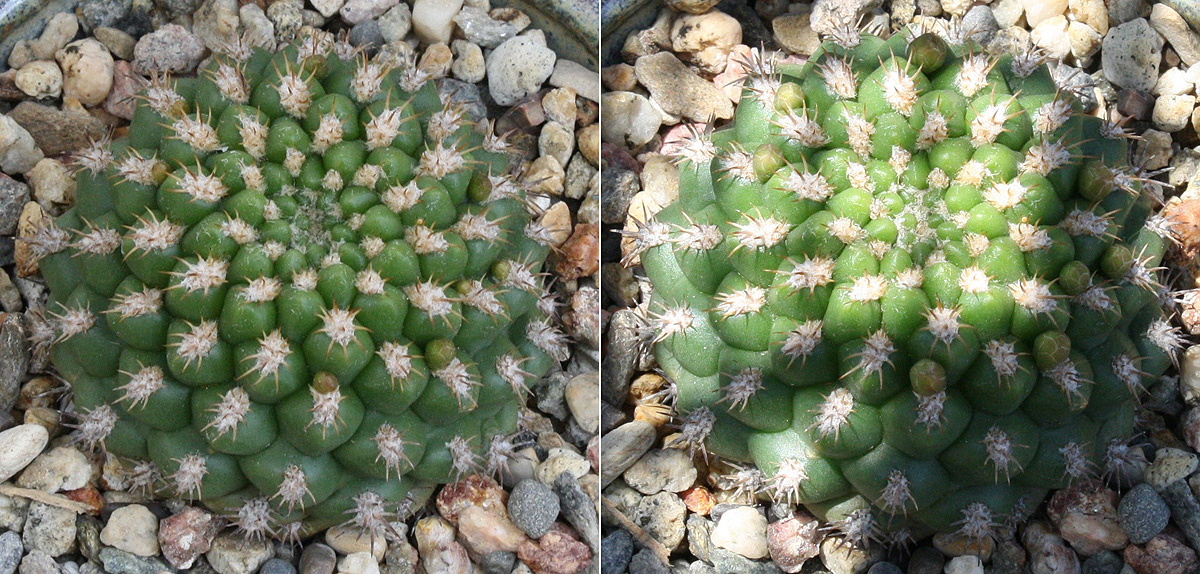
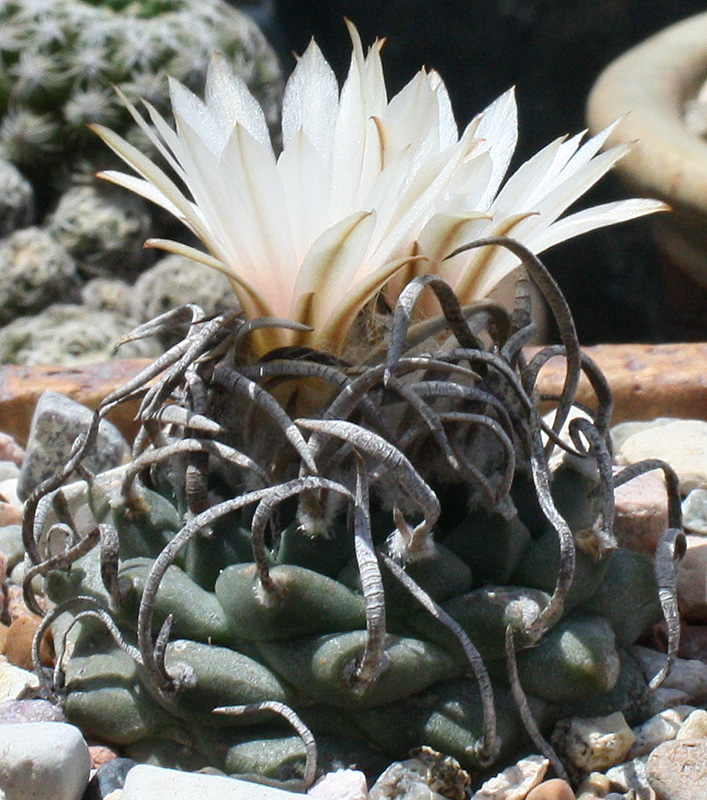
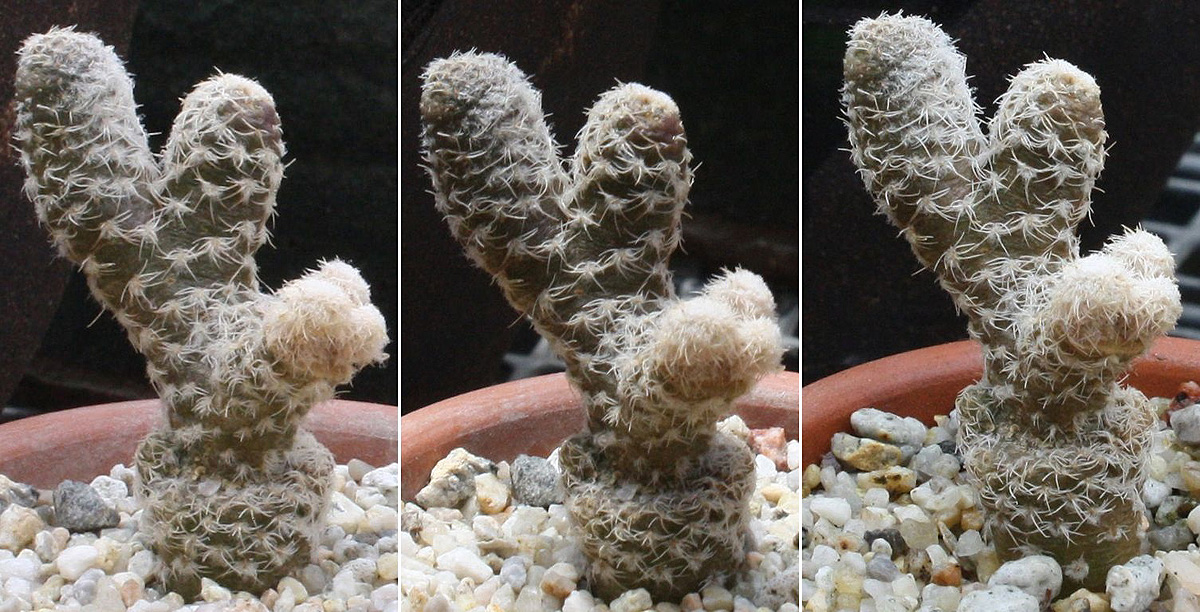
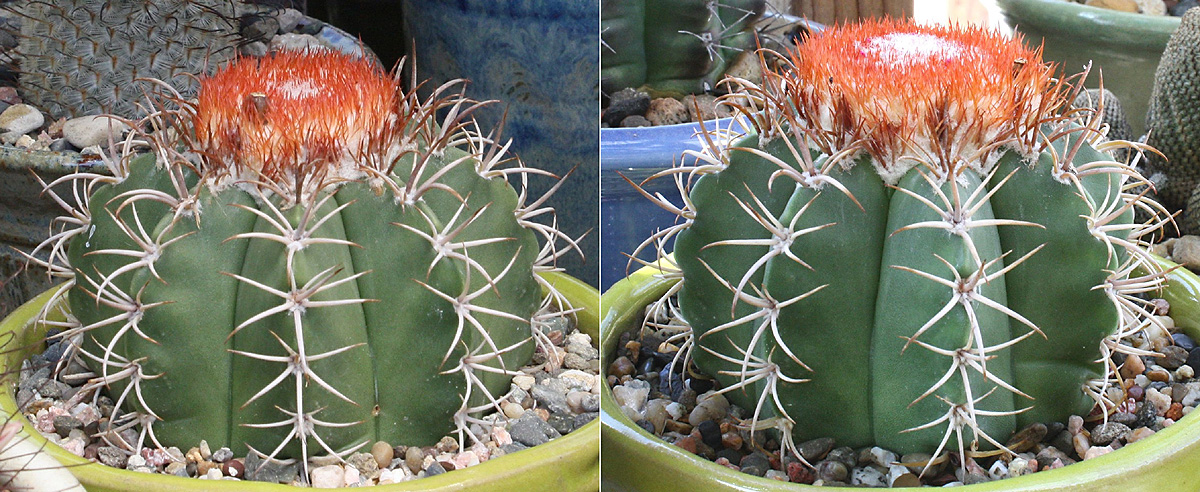
When I started acidifying my water in early 2012, Darryl Craig (CoronaCactus Nursery) was still active on the forum, and he said "a pH meter is the only way to go". He was also the one who recommended going soil-less with a pumice-granite mix and Dyna Gro All-Pro 7-7-7. The results have been speaking for themselves ever since, so many thanks wherever you are, Darryl! :) Now, which meter should we select? After doing a fair amount of research, I decided on a Milwaukee Instruments pH 600 pen-style digital meter, available on Amazon here. At $21.95, IMO a great buy for the money since it can be calibrated for optimum accuracy (the other pen-style meters I found didn't have this feature). Here's what you'll get coming out of the box:

Image

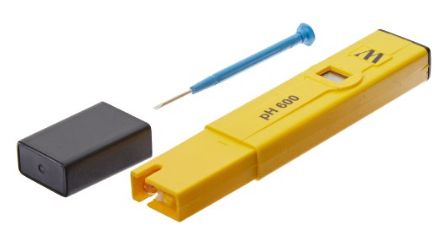
The screwdriver's purpose will be obvious once you start using it. The meter also comes with instructions -- not difficult to figure out, but please follow them. (Any negative reviews you see on Amazon were generated by people who clearly weren't paying attention in class! :roll: ) An important thing to note in the instructions is that the meter's electrode should not be allowed to stay dry for extended periods of time. I kept my first meter in an open jar with some water, but I had a bad habit of forgetting to refill it before the jar went dry. After enough times of making that mistake, the electrode finally pooped out, so I had to buy another pH 600. If there was a way to cover the jar, evaporation wouldn't be a problem, but what to do? Hmmmmm... :-k There's the answer -- a jar with a plastic lid. In my case, an empty coffee jar:

Image

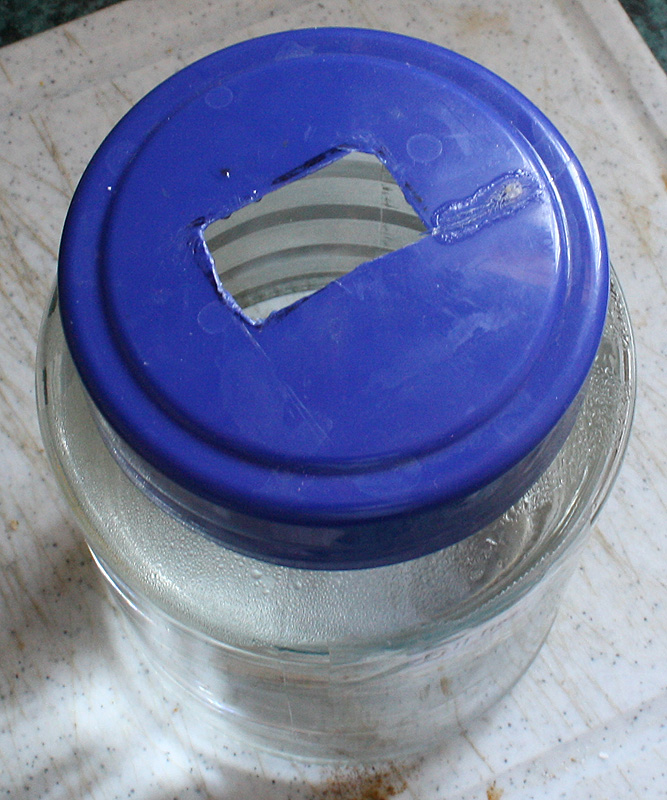
If you cut the hole to the proper fit, you're all set:

Image

Image

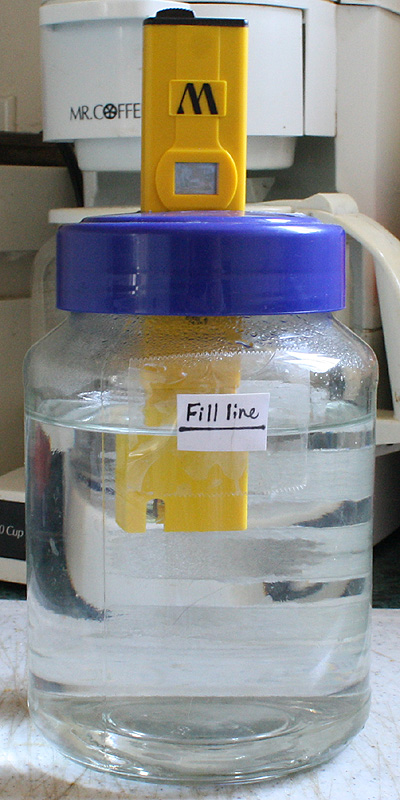
It'll take a verrrrrrry long time before you lose too much water to evaporation, so this arrangement is a wonderful way to keep the electrode wet without having to constantly "babysit" the water level. Here's another important note you'll see in the instructions -- distilled water will ruin the electrode, and it's the ions in plain old tap water that'll keep it going. The initial calibration procedure sets the meter to 7.0 (pH-neutral), but the pH tends to creep up a little when you store it in the water jar. When you buy your pH 600, you'll also need to buy a bottle of 7.0 reference solution (available on Amazon here or at your local hydroponic shop). The reference solution and the screwdriver that came with the meter will allow you to calibrate it back to 7.0 right before you test your acidified water. And that, my friends, is how you get accurate readings. Now I'll give you some of my own instructions on the preparation of acidified water as it is properly tested with a pH meter:

1. Fertilizers tend to lower the pH a little, so whenever you fertilize, put your fert into the water first, then add vinegar. You'll have to do some guesswork initially, but if you start with a teaspoon of vinegar, the meter will give you a rough idea of how much more you'll need to add. When you get closer to your target pH, add smaller amounts and keep testing the water with your meter. If it goes below 5.0, you've over-acidified -- dump out the water and begin the process again. Once you hit the target, make a note of how much vinegar you used.

2. The pH of tap water can sometimes fluctuate (usually higher in summer and winter than spring and fall), so it's a good idea to periodically test the pH of your acidified water. Not sure that we need to do this every single time we water our plants, but it should be a standard part of your practice at least once a month and/or when you skip on the fert from time to time.

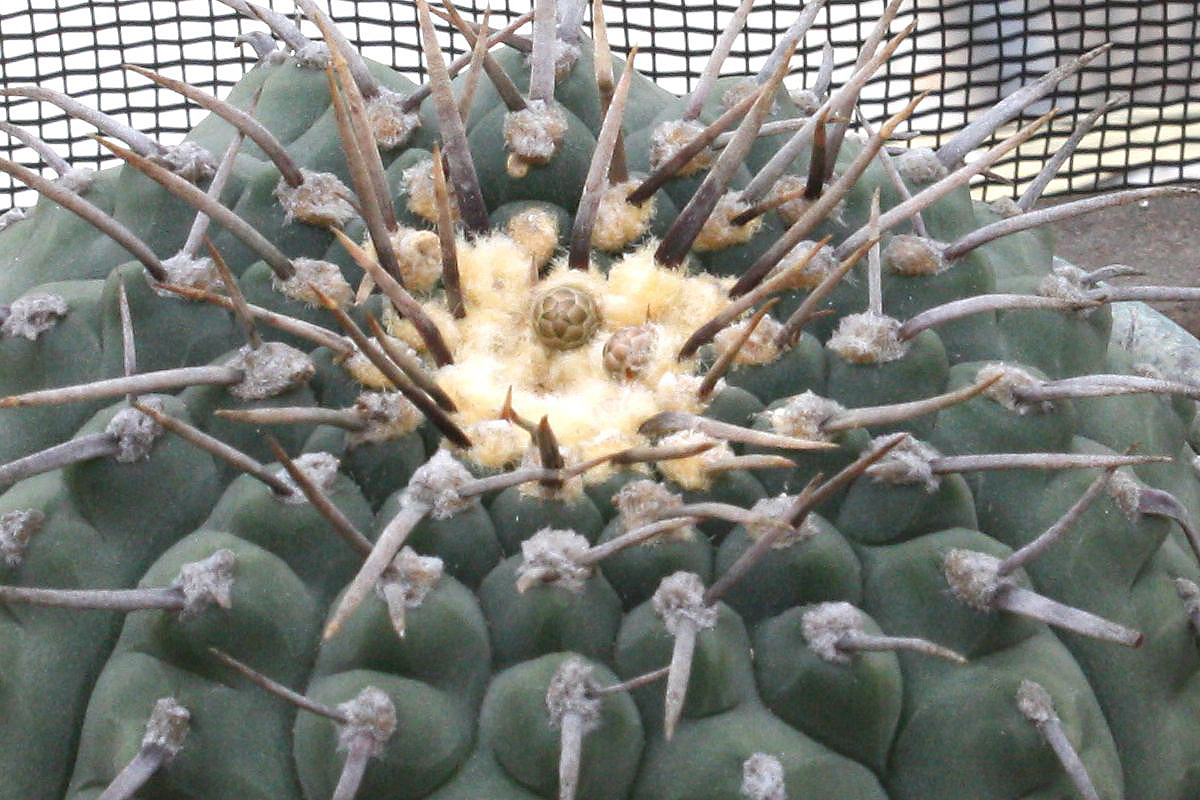
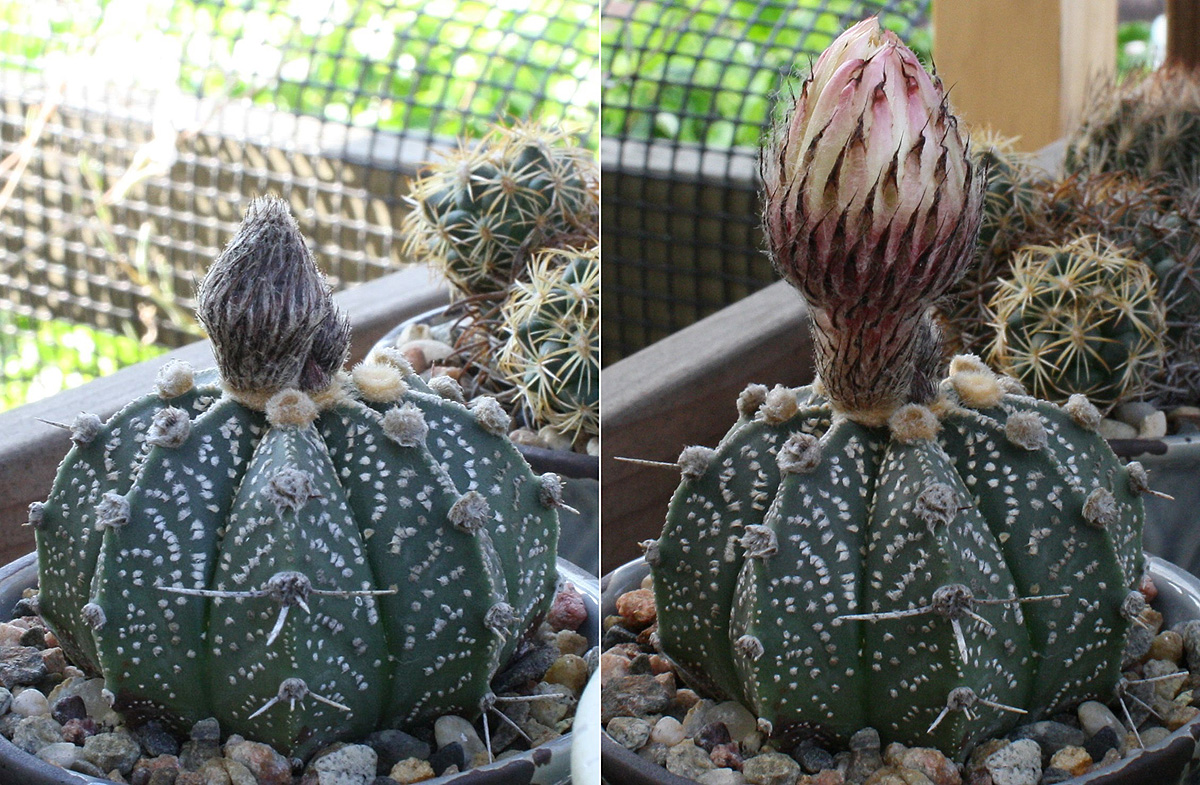
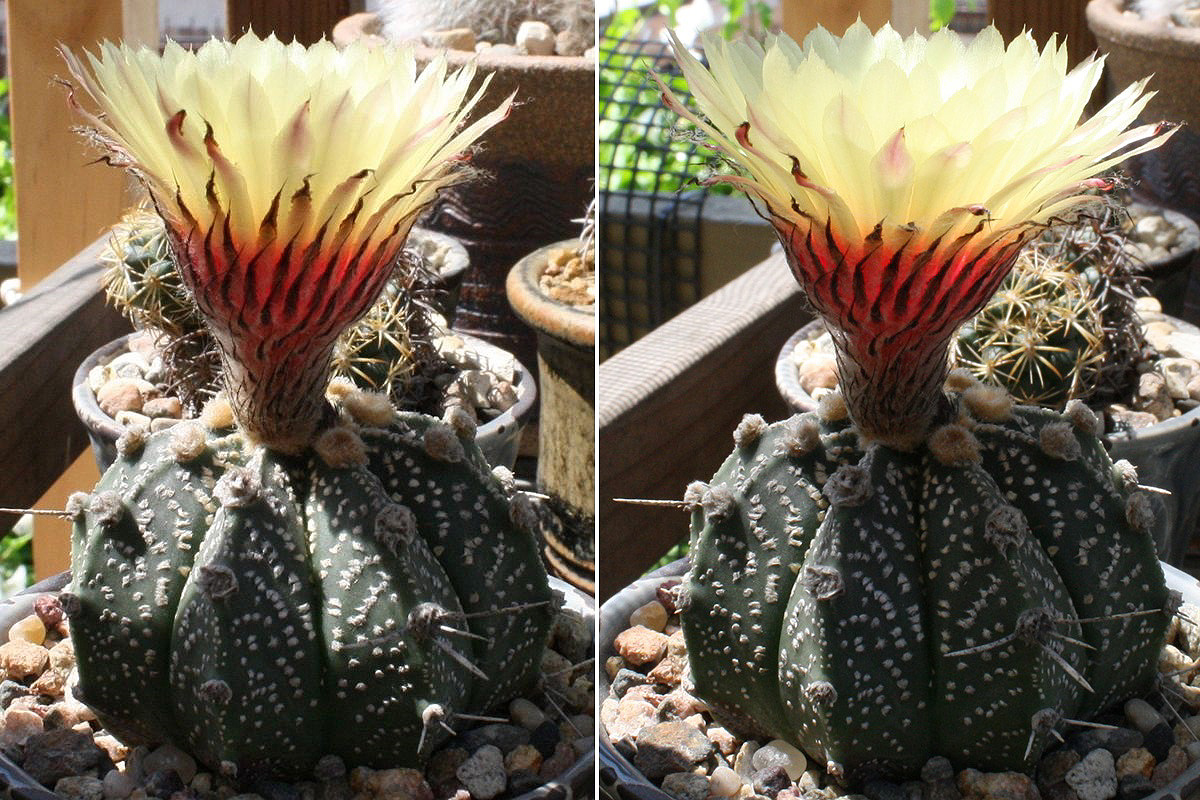
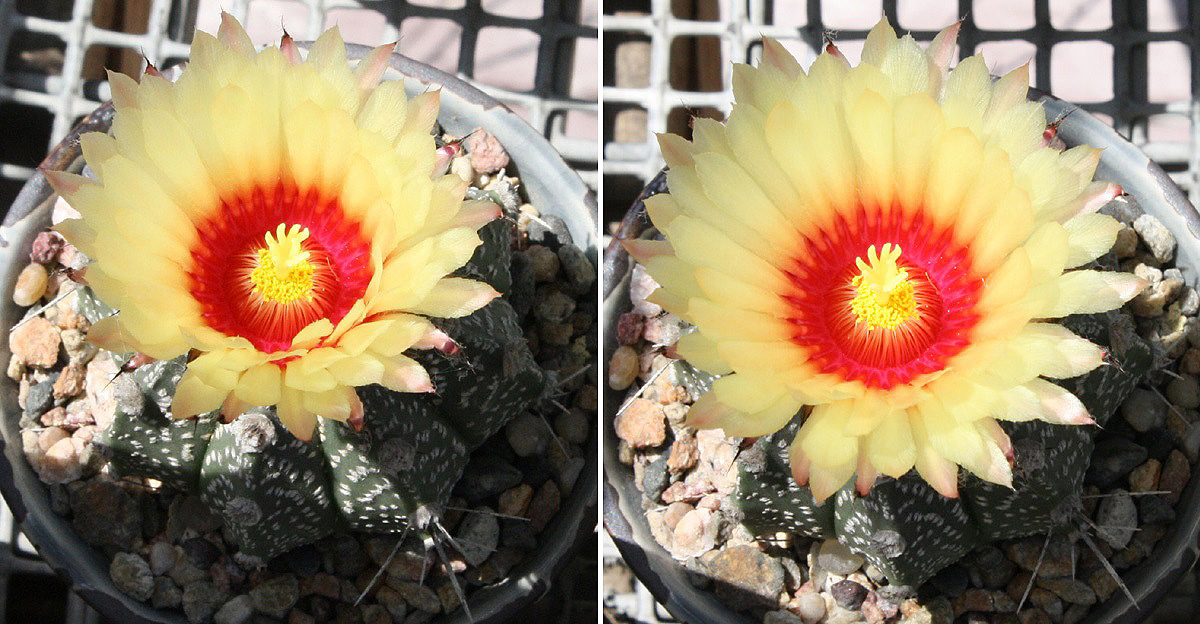
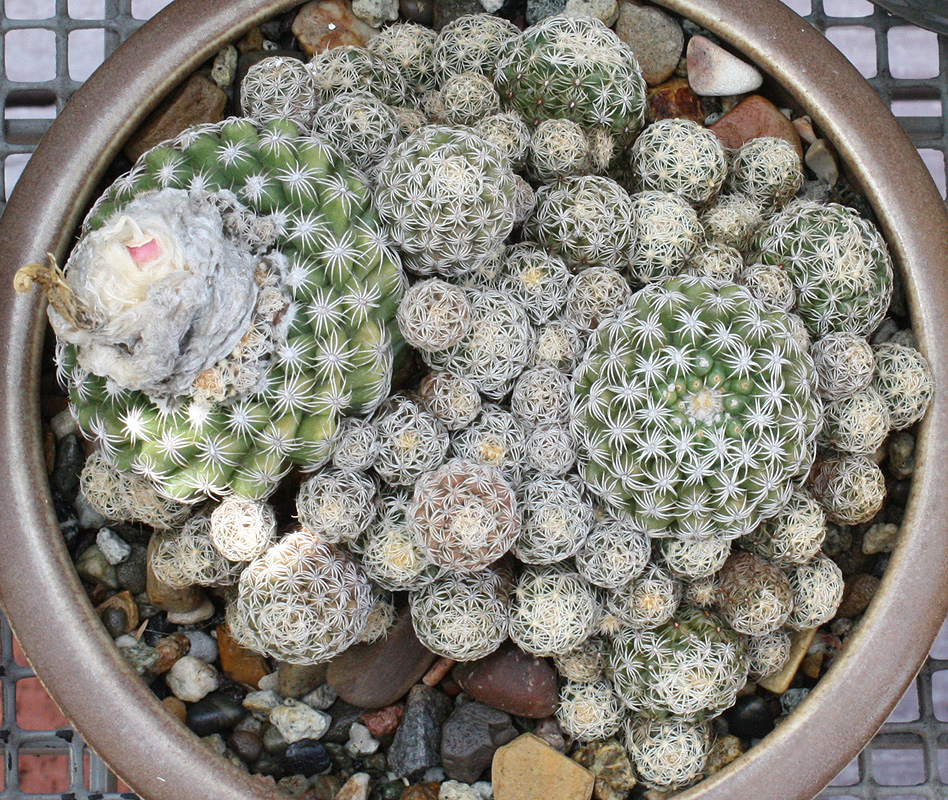
3. Sources discussing acidification recommend a wide pH range of 5.0 - 6.0. Although mixes don't have a pH factor when they're dry, they can alter the pH of the water being taken up by the roots of our plants. For those of us OCD-driven growers who don't like to guess about anything, here's an extra step you can take:

A. Fill an empty pot with your mix of choice and drench it through and through.
B. Capture the runoff in a container -- make sure you have plenty.
C. Filter the runoff with a paper coffee filter and funnel.
D. Now that you have clean runoff water, test it with you meter, and you'll get the final pH.

What we're doing here is essentially a "slurry test" to determine if the mix has a neutral, slightly alkaline, or slightly acidic effect on the water going to the roots. Ideally, the runoff water should be approximately 5.5 (a few points plus or minus won't matter). If it's above 6.0, add a little more vinegar. If it's below 5.0, reduce the amount of vinegar. Once you determine the correct amount, you'll need to run the slurry test only once unless you change your mix.

And finally, the pH 600 is a rugged, reliable instrument -- treat it well, and your meter should last a good long time.
If you just want photos without all the blather, please visit my Flickr gallery.
My location: Los Angeles, CA (Zone 10b)
User avatar
thomas
Posts: 103
Joined: Mon May 30, 2016 5:13 am
Location: Yakima, Washington State

Re: A small collection: 2015 and beyond

Post by thomas »

Steve - great advice. I have pretty hard water and want to try acidified water. I have aquariums and have PH test strips for it. You just dip them in the water and swirl it for a few seconds then pull it out an wait 20 seconds for the PH results. Would those also work for testing my acidified water? The nice thing is they are available at just about any aquarium store and pretty cheap. On a fixed income I like cheap - - - :D
User avatar
Steve Johnson
Posts: 4526
Joined: Thu Nov 03, 2011 4:44 am
Location: Los Angeles, CA (Zone 10b)

Re: A small collection: 2015 and beyond

Post by Steve Johnson »

thomas wrote:Steve - great advice. I have pretty hard water and want to try acidified water. I have aquariums and have PH test strips for it. You just dip them in the water and swirl it for a few seconds then pull it out an wait 20 seconds for the PH results. Would those also work for testing my acidified water? The nice thing is they are available at just about any aquarium store and pretty cheap. On a fixed income I like cheap - - - :D
I compared test strips from various suppliers with my pH 600, and I couldn't find even one that was anything close to accurate. Yours may be fine, although we won't know unless we get a benchmark for comparison. I'll PM you, and if you'd like to snail-mail some of your strips to me, I'll test them against the meter and give you the results.
If you just want photos without all the blather, please visit my Flickr gallery.
My location: Los Angeles, CA (Zone 10b)
User avatar
Steve Johnson
Posts: 4526
Joined: Thu Nov 03, 2011 4:44 am
Location: Los Angeles, CA (Zone 10b)

Things 'n stuff 'n such -- late-June edition

Post by Steve Johnson »

We'll be all over the place here, hence the catch-all title of this post. And away we go...

My irrepressible new Turb klinkerianus with the latest "twofer" of buds -- on 6/22 (evening) and 2 days later (morning, before sunlight moved into Sun Valley):

Image

Same time of the morning on 6/24 -- Astrophytum asterias.

Image

Sadly, the bud it started back in December finally gave up. Think that was probably due to the delayed effects of the winter stress I described in my 6/19 post. As things have started heating up for summer, the asterias is ready to go from bi-weekly watering to soaks once a week beginning next weekend. With the more frequent infusions of fertilizer going into its water, the plant should green up substantially in August. Hopefully the response will include a flower coming out of the new bud we see.

We're still on 6/24 -- a trio of Gymnos say "this bud's for you!"

Image

Image

Image

Image

Image

Astrophytum myriostigma on 6/24 and blooming day 6/26:

Image

That was yesterday morning, so thus begins a set of nice pics I shot before the sun made its way onto the plant bench. The top shelf, and there are a few things to point out:

Image

First, we'll examine my Escobaria minima. Whenever I water it (which I did Saturday night), what you see here is something I always notice the following morning. Kinda makes me wonder if some cacti are able to take a little water up through their spines. Second, I think I made a boo-boo keeping the Turb pseudopectinatus in Shady Glen -- too much shade for it? The plant is now on the top shelf, so I'll see if there's any change in the way it's growing. (I'll go into more detail on the issue when we get to my End-of-Summer Review.) And third, we'll zoom in on the Frailea castanea:

Image

I've seen the castanea's seed pods dehisce before, but nothing like what I came home to after an outing Saturday afternoon -- like an explosion, POW! Seeds all over the top dressing, and not even a particle of the pod left. Watering washed the seeds out (dang!), but I recovered a few (no problem -- I'll get more when that new bud turns into another seed pod). The plant tends to get dusty, although the wet look is great, and it really brings out the castanea's attractive skin colors. Very pretty!

Moving down to Shady Glen:

Image

That's the new spot for Eriosyce senilis Jr. What about that Pelecyphora strobiliformis on the upper right? An ugly corked mess when it's dry, but give it a spritz, and we'll have an idea of what the plant looked like when I got it in April 2013:

Image

How the strobiliformis got from there to here is a story I covered in Part 7 of last year's EoS Review. Since the plant has just started on its new summer growth, we'll check in on its progress again at the end of September.

Another resident of Shady Glen -- Astrophytum 'capristigma':

Image

Early morning in Sun Valley:

Image

The Astrophytum capricorne's first bud appeared way back in February, with the other 2 coming in March. Didn't do much until recently, but the buds are growing. Chances are good that it'll grace us with 3 gorgeous flowers as summer wears on.

With Sun Valley coming out of its early morning shadow, I was able to get a good shot of my Ariocarpus fissuratus in case I could detect any signs of new growth. Among my slow growers, the Ario's growth seems to be positively glacial -- the last photo I took was on 3/26, so let's review this "before and after":

Image

If we're really observant, we'll discover that there's more going on in the pot than one would see at first blush. Take a good close look at the top dressing, and you'll notice that some of the rocks have been moved around. And do the same with the plant -- an artefact of camera rotation? Nope, the Ario is doing the rotating. How about watering? The rocks which moved are too big for that, so it's the plant pushing the top dressing around as it takes on water and starts growing:

Image

As horrible as it was for California, at least the extreme drought years of 2014 and '15 were sunny and warm enough to water my fissuratus on a fairly regular basis in spring. However, this spring was back to normal -- limited windows of opportunity for watering in warm/hot sunny weather, and too infrequent for springtime growth. In my part of L.A. Arios are summer growers anyway, and from what I could see in the closeup pic yesterday, I know that the fissuratus is ready for soaks every 2 weeks commencing on the July 4th weekend.

Before we get to yesterday's blooms, here's another set of buds for you -- Weingartia neocumingii brevispina (5/14 on the left):

Image

After I saw its very first buds, I expected them to get going pretty much right away. Well, not quite -- I forgot about the fact that this species blooms in early summer, so the brevispina is right on time.

Okay, okay, I know y'all want flowers now...

Turb klinkerianus wide open in the summer sun:

Image

Image

Image

We'll end this post with a bang!

Image

Image
If you just want photos without all the blather, please visit my Flickr gallery.
My location: Los Angeles, CA (Zone 10b)
User avatar
NancySLAZ
Posts: 21
Joined: Sun Jun 21, 2009 4:42 pm
Location: Phoenix, AZ

Re: A small collection: 2015 and beyond

Post by NancySLAZ »

IMG_8194.JPG
IMG_8194.JPG (59.94 KiB) Viewed 4500 times
Hi Steve, just wanted to show you my Melocactus that I got when you got yours. So far, so good! However, I imagine these flowers were set before I got the plant. Next year will be the real test. I have in a relatively small pot and my regular succulent mix which is 1/2 pumice and 1/2 purchased cactus soil.
Gardening is a humbling experience--Martha Stewart
Pushrestart
Posts: 244
Joined: Fri Jul 17, 2015 4:11 pm

Re: A small collection: 2015 and beyond

Post by Pushrestart »

Steve, fantastic plants and insightful post on the pH meter! I did go to amazon to read the reviews, and yeah you were right, its dreadful, that thing has a very poor rating. It would be great to get your take on using Ammonia Sulfate to get the proper pH for cactus. I've been using pH strips intended for lab work but that doesnt help in determining the hardness of the water.
User avatar
Steve Johnson
Posts: 4526
Joined: Thu Nov 03, 2011 4:44 am
Location: Los Angeles, CA (Zone 10b)

Re: A small collection: 2015 and beyond

Post by Steve Johnson »

Pushrestart wrote:It would be great to get your take on using Ammonia Sulfate to get the proper pH for cactus.
Ah, interesting subject. Ammonium sulfate is a Nitrogen source, so that's the only reason for using it. Whether or not we should is another matter...

Back in early 2012, my introduction to Ammonium sulfate (NH4) came through a Cactus & Succulent Society Journal article written by Elton Roberts. His contention was that cacti will do incredibly well if we supplement our fertilizers with it. Too bad Mr. Roberts knew nothing about the chemistry involved, and after I briefly followed his recommendation, I backed away from the practice thanks to Ian setting me straight (he does have a background in chemistry). With my Dyna Gro All-Pro 7-7-7, the sources of Nitrogen are Nitrate (4.9%) and NH4 (2.1%). The Ammoniacal Nitrogen produces a quick "rush" while the Nitrate maintains a slow, steady nutrient supply to the plants. Contrary to what Roberts has claimed, cacti want slow and steady -- nothing wrong with NH4 in the All-Pro 7-7-7 (in fact I think the Dyna Gro people have their formulation spot on), but if we went with what he recommends, it would be the cactus equivalent of going on a junk food diet. I know how to spot the bloated look of cacti overfed on Nitrogen -- whenever we see it at nurseries, that's exactly what they're doing in the misguided attempt to make their cacti "presentable" for sale.
If you just want photos without all the blather, please visit my Flickr gallery.
My location: Los Angeles, CA (Zone 10b)
User avatar
Steve Johnson
Posts: 4526
Joined: Thu Nov 03, 2011 4:44 am
Location: Los Angeles, CA (Zone 10b)

Things 'n stuff 'n such -- July 4th Special

Post by Steve Johnson »

And it really is special for the fireworks I've been seeing on my plant bench all week!

Astrophytum 'capristigma' on June 26 and 30:

Image

That was flowering day, so here's some pre-4th fireworks for you:

Image

Image

Once my 'capristigma' sets itself up for summertime activity, it doesn't take long going from buds to blooms. Fairly prolific too, and this plant's flowering behavior is a study in contrast when we compare it with the A. capricorne that's been with me since I found it at the California Cactus Center 5 years ago. On 2/27, then a month later:

Image

The buds didn't do much for the better part of 3 months, although 2 of them looked like they might bloom at the same time. Dare I hope? We're about to find out as they suddenly put on a burst of growth -- here on 6/26 and 6/30:

Image

On the same day as my 'capristigma' -- the capricorne has been good for blooms since it started flowering in 2012, but this beautiful plant finally blessed me with its very first twofer!

Image

Image
Image

Image
Image

I've often wondered if cacti can actually synchronize flowering. Just a coincidence, or do they send some kind of signal?

Now we're up to our long July 4th weekend. This 2011 "veteran" Turbinicarpus polaskii pops out a sparkler -- on 7/1 and 2:

Image

Image

Image

Also on 7/2 -- Mammillaria grahamii with more colorful sparklers:

Image

Here come the "big guns" -- Mamm deherdtiana primed on 6/27 and 7/1:

Image

A day later -- boom boom!

Image

Image

Image

On March 21, I showed you the repotting of a Mamm guelzowiana which didn't have much in the way of roots. That was the plant I got from Miles' To Go back in July 2013 (the story covered in Repotting time -- 2016 edition (Part 1)). My prescription for regrowth of its roots worked out remarkably well, but because the plant was putting its energies more into building a strong, healthy root system, I didn't expect to see any flowers this year. And boy, what a sudden and pleasant surprise this was! On 6/30 and 7/2:

Image
Image

The guelzowiana gave us gorgeous displays in 2014 and '15, but only on the parent stem. Clearly the plant is healthier than I thought, and that pup is getting in on the act with its very first buds. Bigger guns here on 7/2...

Image

...and yesterday:

Image

Image

Will my big, beautiful puffball give us another day of flowering love? Yuppers!

Image

Image

Happy Independence Day, my cactus-loving fellow Americans! :D
If you just want photos without all the blather, please visit my Flickr gallery.
My location: Los Angeles, CA (Zone 10b)
User avatar
toadstar
Posts: 381
Joined: Sat Jul 26, 2014 10:49 pm
Location: Nebraska, USA
Contact:

Re: A small collection: 2015 and beyond

Post by toadstar »

That is one fluffy cactus.
User avatar
NancySLAZ
Posts: 21
Joined: Sun Jun 21, 2009 4:42 pm
Location: Phoenix, AZ

Re: A small collection: 2015 and beyond

Post by NancySLAZ »

Boy, Steve, you can see how your proper soil, water, fertilizer has paid off in these perfect plants and flowers. They are amazing!
Gardening is a humbling experience--Martha Stewart
Pushrestart
Posts: 244
Joined: Fri Jul 17, 2015 4:11 pm

Re: A small collection: 2015 and beyond

Post by Pushrestart »

Steve Johnson wrote:
Pushrestart wrote:It would be great to get your take on using Ammonia Sulfate to get the proper pH for cactus.
Ah, interesting subject. Ammonium sulfate is a Nitrogen source, so that's the only reason for using it. Whether or not we should is another matter...

Back in early 2012, my introduction to Ammonium sulfate (NH4) came through a Cactus & Succulent Society Journal article written by Elton Roberts. His contention was that cacti will do incredibly well if we supplement our fertilizers with it. Too bad Mr. Roberts knew nothing about the chemistry involved, and after I briefly followed his recommendation, I backed away from the practice thanks to Ian setting me straight (he does have a background in chemistry). With my Dyna Gro All-Pro 7-7-7, the sources of Nitrogen are Nitrate (4.9%) and NH4 (2.1%). The Ammoniacal Nitrogen produces a quick "rush" while the Nitrate maintains a slow, steady nutrient supply to the plants. Contrary to what Roberts has claimed, cacti want slow and steady -- nothing wrong with NH4 in the All-Pro 7-7-7 (in fact I think the Dyna Gro people have their formulation spot on), but if we went with what he recommends, it would be the cactus equivalent of going on a junk food diet. I know how to spot the bloated look of cacti overfed on Nitrogen -- whenever we see it at nurseries, that's exactly what they're doing in the misguided attempt to make their cacti "presentable" for sale.
Thanks for your input Steve! Yeah I read the CSSA article recently and it had me curious about NH4, the pH of my water, and dissolved solids. Im crazy enough to collect rain water so I use just that and fertilize when I remember :roll: . Im going to purchase the dyna-gro Grow 7-9-5 as the 7-7-7 is a bit pricey, just need to make sure of using it with every watering during grow season. Yes the Dyna-gro has a small percentage of NH4 in its composition, but the question I ask is in order for a fertilizer to be 'slow-release', doesnt the environment need to retain moisture over that period of time? Please excuse my question if it is foolish, I do not have a background in chemistry.

Beautiful blooms as always Steve, that Mamm guelzowiana is too fluffy ! :happy7:
User avatar
Steve Johnson
Posts: 4526
Joined: Thu Nov 03, 2011 4:44 am
Location: Los Angeles, CA (Zone 10b)

Re: A small collection: 2015 and beyond

Post by Steve Johnson »

Pushrestart wrote:Im going to purchase the dyna-gro Grow 7-9-5 as the 7-7-7 is a bit pricey, just need to make sure of using it with every watering during grow season.
Precisely why I won't hesitate to recommend the 7-9-5 for people who may be on a tight budget, and I think you'll be pleased with the results over the long haul. Only potential drawback with Dyna Gro is that the Potassium salts crystallize at temps below 35F. You can get the crystals back into solution by heating the product, although it's easier if you keep your Dyna Gro indoors during the months when freezing weather outside will be a problem.
Pushrestart wrote:Yes the Dyna-gro has a small percentage of NH4 in its composition, but the question I ask is in order for a fertilizer to be 'slow-release', doesnt the environment need to retain moisture over that period of time? Please excuse my question if it is foolish, I do not have a background in chemistry.
Not foolish at all, and you're astute to pick up on this. Whenever we water our cacti with dilute fertilizer, the NH4 lasts for 2 days and that's it, but Nitrate continues to be taken up by the roots until there's no moisture left in the mix. With mixes that include soil, any nutrients not taken up when the mix dries out will stay in the soil until they're released again through watering. Cacti and succulents are adapted to live well on a thin diet of nutrients, and a buildup of fertilizer salts over time (described as "persistent over-fertilization") is something we need to avoid. There are 2 ways to make sure we won't have this problem. One is a conservative application of fert -- for ferts like Dyna Gro, 1/2 teaspoon per gallon of water is perfect. The other (and it should be standard practice for everyone) -- flush your pots with water and no fert once a year in the growing season. Distilled water is fine, but rainwater is even better. Since my collection is small enough, I don't have a problem going either way. For larger collections without access to sufficient rainwater storage, the only options are paying a lot for distilled water or acidifying your tap water. Another tip here -- aside from annual flushes, your plants will do just fine if you skip the fert occasionally.
If you just want photos without all the blather, please visit my Flickr gallery.
My location: Los Angeles, CA (Zone 10b)
User avatar
Steve Johnson
Posts: 4526
Joined: Thu Nov 03, 2011 4:44 am
Location: Los Angeles, CA (Zone 10b)

July progress report -- excellent!

Post by Steve Johnson »

Well, my friends -- summer is just starting here on the plant bench, and I can already tell that the height of the growing season will produce plenty of good stuff to keep us busy. I have a few noteworthy examples covering the first 2 weekends of July, so let's get to it.

Echinocereus rubispinus -- after its gorgeous flower left behind a "belly button" (June 4), and adding a bit of height on 7/1:

Image

The "shaggy" look of the spines on top tells us that the rubispinus is now in full summer growth.

Discocactus buenekeri on 7/3 -- talk about busy!

Image

Now we'll zoom in on several features you may find rather interesting. First, here's the chief pup -- and I believe we're witnessing the start of a brand-new cephalium:

Image

Here's the parent stem -- and yes, that's my very first Disco fruit!

Image

Notice the spiny little protruberances around the cephalium's edge? I started seeing them in summer 2014, and I thought they might be a precursor to more cephalium growth. Now I'm not so sure:

Image

That little guy on the lower left is clearly an adventitious pup, so I have a feeling the other protruberances are too. Normal for the species? Whether it is or not, this is one facinating cactus!

My Epithelantha gregii 'rufispina' slowly developed a distinct tilt toward the southwest once it started growing pups in odd places early last year. Then when I repotted it at the end of April, I decided to run a little experiment -- try straightening up the lower part of the plant and see if the upper part would follow suit. View from the top as the head points northwest (5/14), and the same view yesterday:

Image

Yuppers, my gregii is following the sun! This being summer and all, the "after" included 2 pretty little buds in the morning...

Image

...followed by 2 pretty little blooms in the afternoon.

Another Epithelantha -- micromeris with most of its fruit crop picked so we can have a good look at the plant's very active growing point:

Image

Also from yesterday -- Mammillaria guelzowiana sporting more buds and a bloom:

Image

Image

The guelzowiana flowered rather well for me in 2014, but last year not so much. I think keeping it in "dirty" mineral mix took more of a toll on its roots than I thought, and 3 years after my beautiful puffball joined the collection, it may be thanking me for the chance to grow a properly healthy set of roots in clean mix.

Next, we'll check in on progress with the Puna clavarioides I received from C and D in December. Most of the activity is going on in the pot, but what's been happening below-ground can be seen above -- on 5/14, 6/4, and today:

Image

Aside from the plumping, a nubbin on the left edge of the base is the spot to watch -- could it be the beginning of a new stem? The Puna's roots seem to be growing in well, and part of my brain says "repot now!" But I'm letting the more intuitive and patient part run the show here, so the plant will continue to consolidate its gains in the current pot, then I'll repot it right before the next growing season begins.

I'll end for the moment with a wonderful progress report involving one of my latest acquisitions, and what a pleasant surprise to post it sooner than I could've expected...

I now present Melocactus matanzanus on 5/30 and last weekend:

Image

There's only one way the matanzanus can look this good -- a healthy new root system growing more quickly than I thought. While I'm not quite ready to declare complete victory yet, that time will come soon enough. And when it does, I'll give you the details on how I saved this beautiful Melo from consignment to the great compost heap in the sky.
If you just want photos without all the blather, please visit my Flickr gallery.
My location: Los Angeles, CA (Zone 10b)
Pushrestart
Posts: 244
Joined: Fri Jul 17, 2015 4:11 pm

Re: A small collection: 2015 and beyond

Post by Pushrestart »

Steve I love these posts, they're a teaching resource really!! Meticulous observations and changes really help those of us who dont quite 'get it yet'. You can tell by looking at the progress photos that the roots on these cacti are solid. Cant wait to see what your Tephro does next, its such an interesting plant! :salute:
User avatar
NancySLAZ
Posts: 21
Joined: Sun Jun 21, 2009 4:42 pm
Location: Phoenix, AZ

Re: A small collection: 2015 and beyond

Post by NancySLAZ »

Your Melocactus matanzanus looks fantastic. Nice and full on the green area. Can just tell the roots are growing from the look of it! I wish my plant looked that good! Many seed capsules but not so plump as yours!
Gardening is a humbling experience--Martha Stewart
Post Reply