


Here are some of the results.
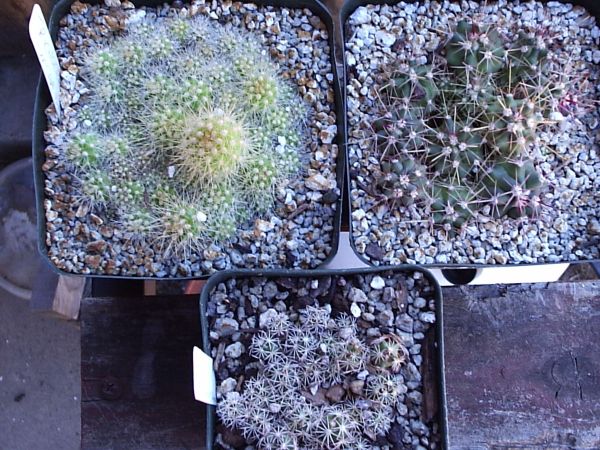 This is Trichocereus huascha var. robusta, Ferocactus rectispinus, and Coryphantha tripugionacantha from early last year. I have some serious separating to do.
 This shows Oreocereus maximus, Echinocactus horizonthalonius, Glandulicactus uncinatus and my lone Echinomastus johnsonii. All from last August
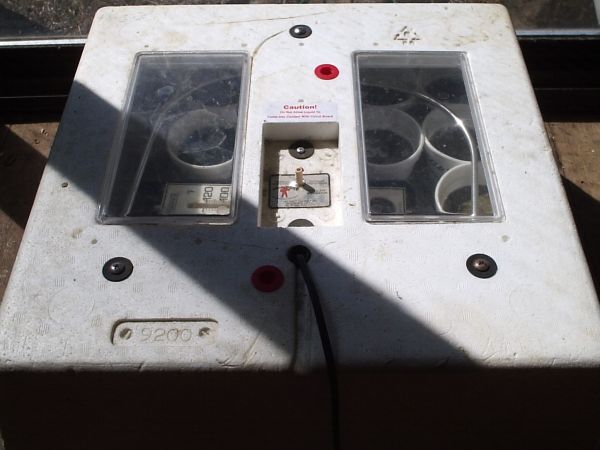
 Although barely visible, the center cup has about 15 Mammillaria tetrancitra seedlings from March.
 Top cup shows Epithelantha rufispina and bottom cup has Turbinicarpus pseudopectinatus.
 This cups holds those cacti the DEA says I shouldn't grow!
 This cup holds Melocactus conoideus and a few Uebelmannia flavispina.
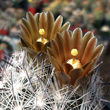
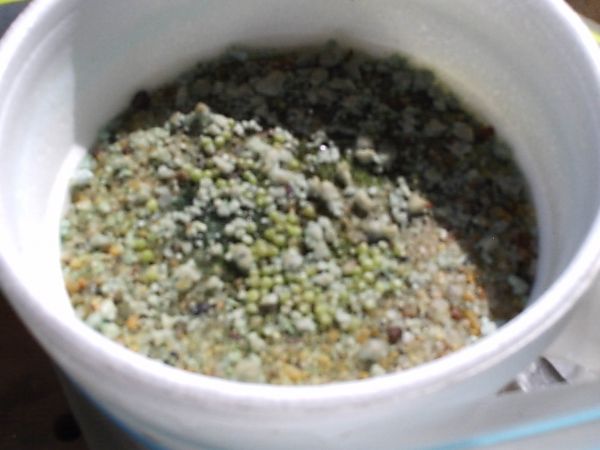 Although doesn't look like much, this is one I'm most proud of, it contains well over a hundred year old Blossfeldia liliputana. I had a similar cup of Aztekium ritteri, but were touchy to keep going over the winter and have 2 seedlings left(more seed coming next week
 Sorry about pic quality, I really pushed what my cheap camera is able to do, but feel you can at least see the green blobs and in many cases that is all you can see for the first year or so.
Chris